
OrchardCore, CMS for ASP.NET Core (Part 03).
In my last article I did walk you through in how to create a Orchard Core Theme from scratch. In this post I show how to create a Orchard Core Recipe.
Posts Planning
This set of posts will cover several parts of the Orchard Core components and, hopefully, by the end it will become much clearer how all of them interact with each other. So for now, the planning is:
- Part 01: The basic Orchard Core project.
- Part 02: Create a Orchard Core Theme.
- Part 03: Create a Orchard Core Recipe. (This article)
- Part 04: Create a Orchard Core Module. …
My Development Environment
As part of my learning path, because I’m learning how to develop with Orchard and i’m working with dotnet, I perform my proof of concept on:
- MacBook Pro (Retina, 13-inch, Late 2012) * Running MacOS Catalina (10.15.5)
- For IDE, I’m using: * Jetbrains Rider 10.15.5 (19F101) * Visual Studio Community 2019 for Mac (Preview) * Version 8.7 Preview (8.7 build 1077)
Why am I using both Rider and Visual Studio for Mac? Well, I decided to try it out with the Rider, however from time to time this IDE becomes possessed by the Evil and presents an erratic behavior (eg: in renaming files, doesn’t allow fill the name). So since I’m still in the beginning, I’m alterning between Rider and the VS for Mac, but VS for MAC isn’t VS for Windows. Rider isn’t like VS for Windows either but seems more alike than VS for Mac…. and I have a license for Rider :).
Before I start
An Orchard Core Recipe, like much as a cooking recipe, is a document where we define a set of steps to configure one application. In this context, a recipe is a json file with the import and configuration steps that will be executed by Orchard Core.
Getting Started
Same as before, and most likely in the future, I will create a new netcore library for this recipe and then delete the default Class1.cs to get an really empty project.
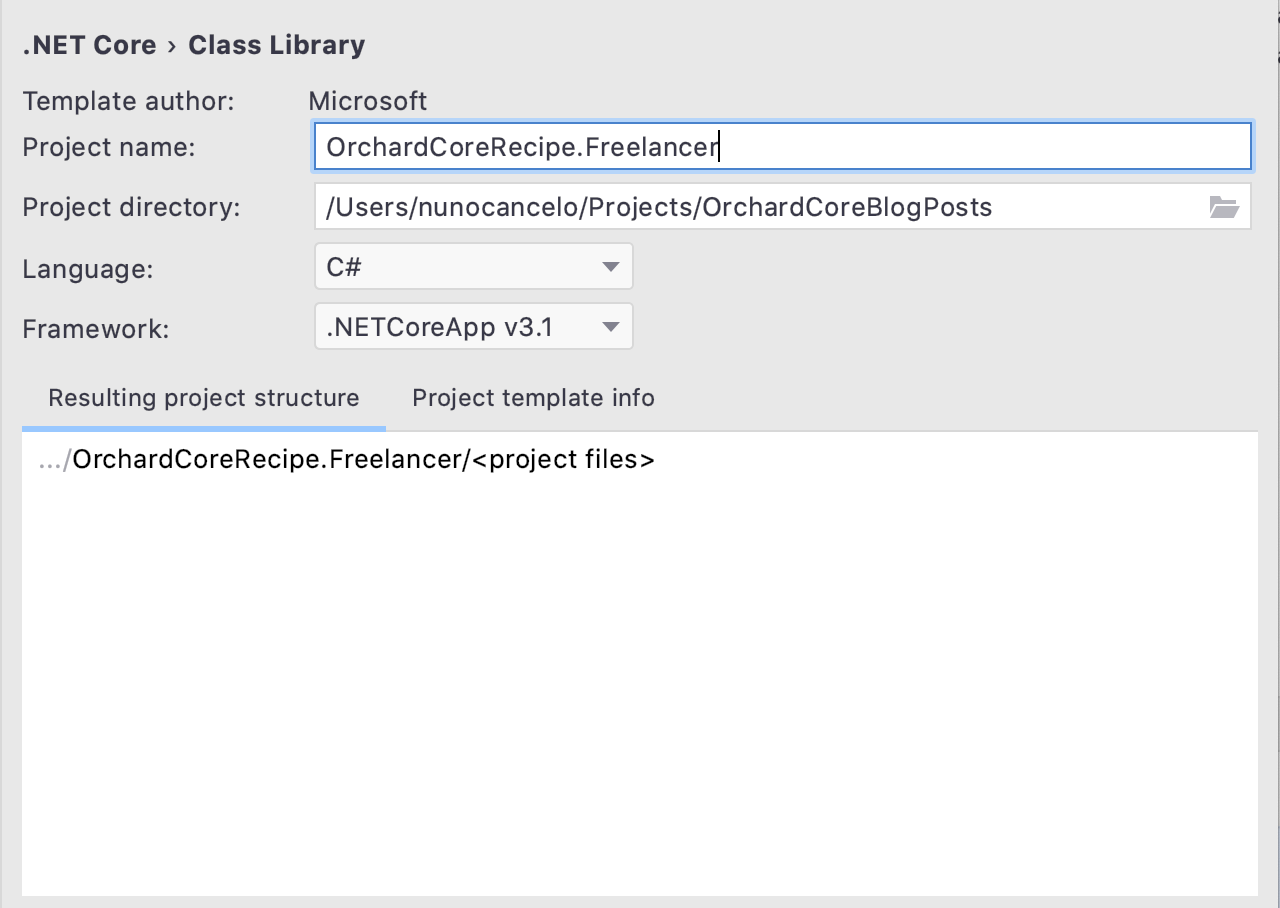
In order to the recipe be recognized by the Orchard Core Website, I need to edit the csproj and update the project file:
<Project Sdk="Microsoft.NET.Sdk">
    <PropertyGroup>
        <TargetFramework>netcoreapp3.1</TargetFramework>
    </PropertyGroup>

    <ItemGroup>
        <FrameworkReference Include="Microsoft.AspNetCore.App" />
    </ItemGroup>

    <ItemGroup>
        <PackageReference Include="orchardcore.recipe.Targets" Version="1.0.0-rc2-13450" />
    </ItemGroup>
</Project>
I need to reference ‘orchardcore.recipe.Targets’ in order to this project be binded as a recipe.
In this post I’ll demonstrate the bare bones of creating a Orchard Core Recipe. If you want a recipe with an template you may merge the information of this post with the previous post, where i have demonstrated how to create a Orchard Core Theme.
Create a new Recipe
Create a new recipe is quite simple, create a ´Recipes’ folder at the root of the project.

Now create the recipes json file, following the structure [recipe name].recipe.json.
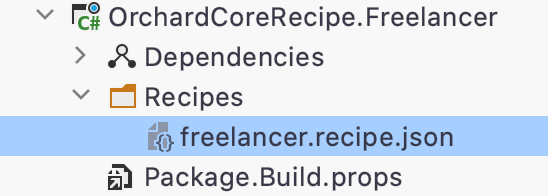
The recipe format is quite simple, it has some identification fields and set of steps:
{
  "name": "Name",
  "displayName": "Display Name of the recipe",
  "description": "Description of the recipe",
  "author": "Author",
  "website": "https://website.net",
  "version": "2.0",
  "issetuprecipe": true|false,
  "categories": [ "default" ],
  "tags": [ "tag" ],
  "variables": {
    "variable1": "[js:uuid()]",
    ...
  },
  "steps": [
      ...
  ]
}
From this configuration, the parameter ‘issetuprecipe’ is quite important hence is the parameter that indicate if this recipe will appear on setup or not.
For this post, our recipe will have two steps: ‘feature’ and ‘themes’. The ‘feature’ step indicate all features and themes that are enable in this recipe, and the ‘themes’ step will configure which theme will be used in the admin panel and in the site.
Recipe Configuration
This excerpt will configure the Recipe metadata, be aware that the ‘issetuprecipe’ is set ‘true’ so it will be available at setup time.
{
  "name": "Freelancer",
  "displayName": "Freelancer site",
  "description": "Freelancer site",
  "author": "Nuno Cancelo",
  "website": "http://masterzdran.github.io/",
  "version": "1.0.0",
  "issetuprecipe": true,
  "categories": [
    "default"
  ],
  "tags": [
    "freelancer"
  ]
  ...
}
Recipe Steps
For clearaty, the json below only referes the more relevant parts.
{
  ...
    "steps": [
    {
      "name": "feature",
      "disable": [],
      "enable": [
        ...
        // Themes
        "OrchardCoreTheme.Freelancer",
        "TheAdmin",
        "SafeMode"
      ]
    },
    {
      "name": "themes",
      "admin": "TheAdmin",
      "site": "OrchardCoreTheme.Freelancer"
    }
    ...
}
To check available features, checkout the default recipes. To check available recipes steps, checkout the documentation.
In the ‘feature’ step I’m enabling not only the ‘TheAdmin’, “SafeMode” themes, but also the theme we created in the last post ‘OrchardCoreTheme.Freelancer’ (whih is the name of the theme project, rather than the theme name set on the metadata file. Otherwise the theme will not be binded).
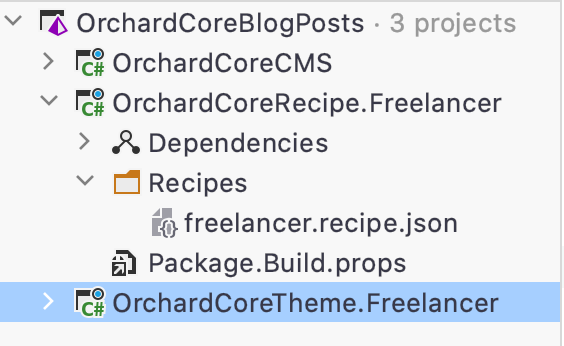
Before Starting the Application
I need to go to the OrchardCoreCMS project and reference this recipe project, so the CMS can add it to the recipes section.
Clean, Build and Start the Application
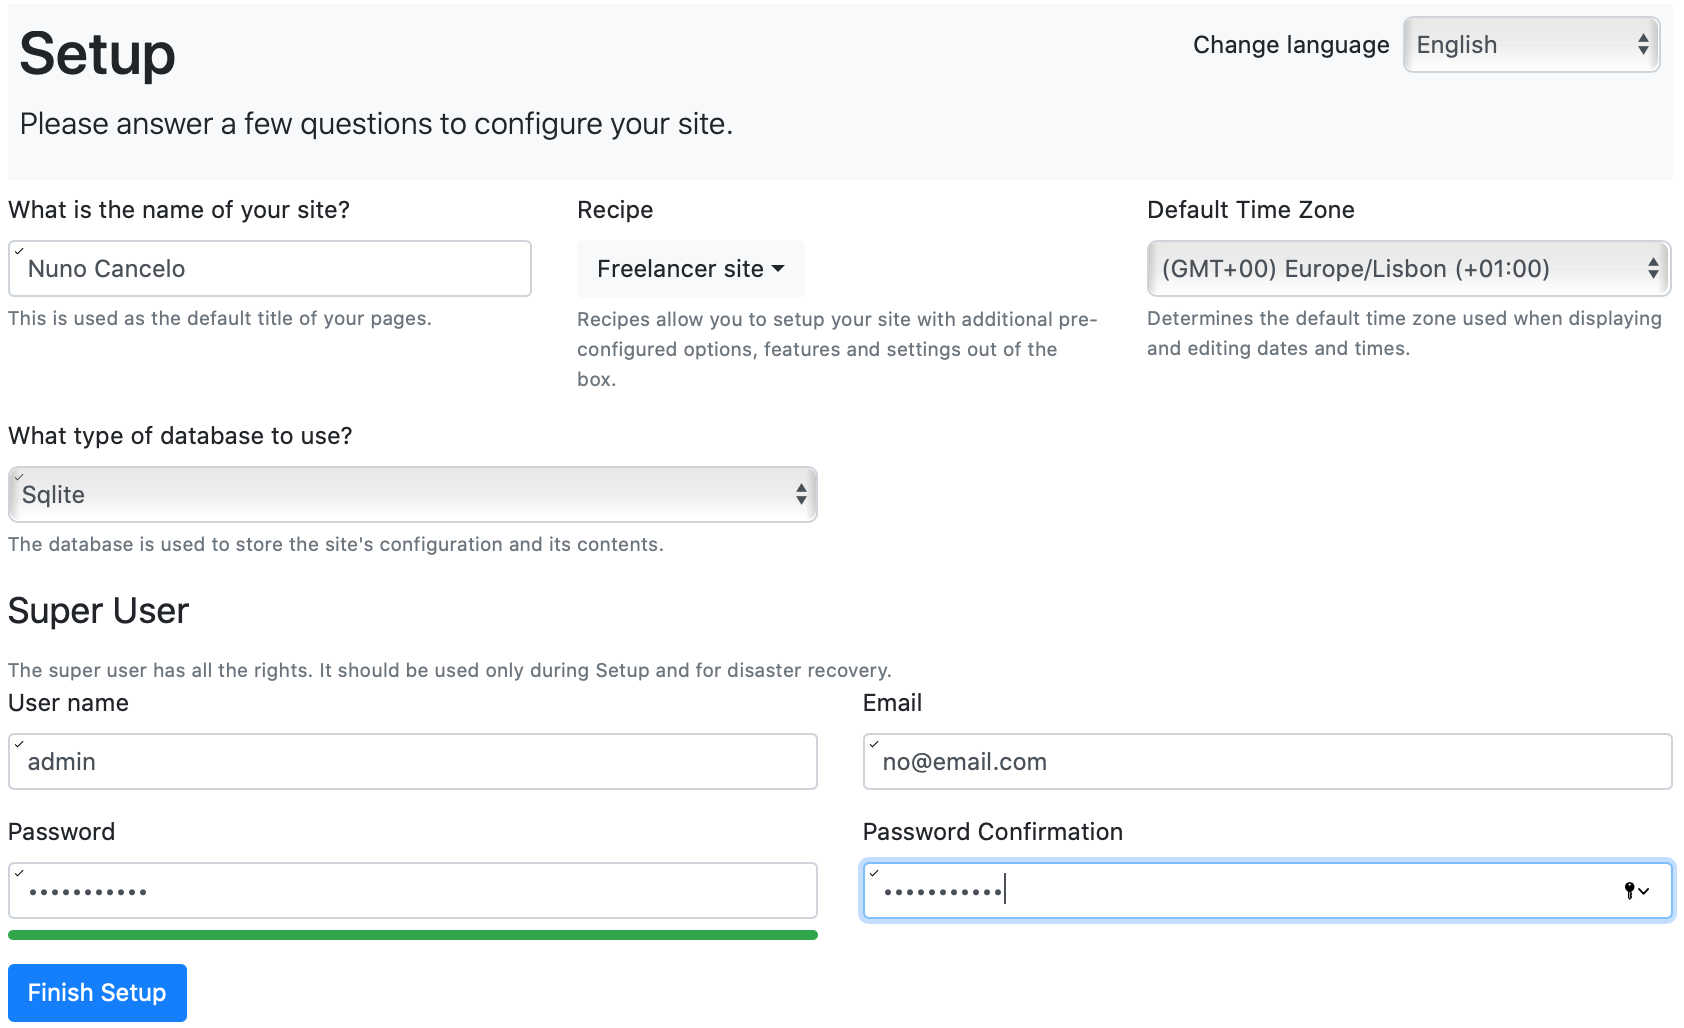
So let start the application and fill the setup page. As you may notice, there is a new recipe named “Freelancer site”.
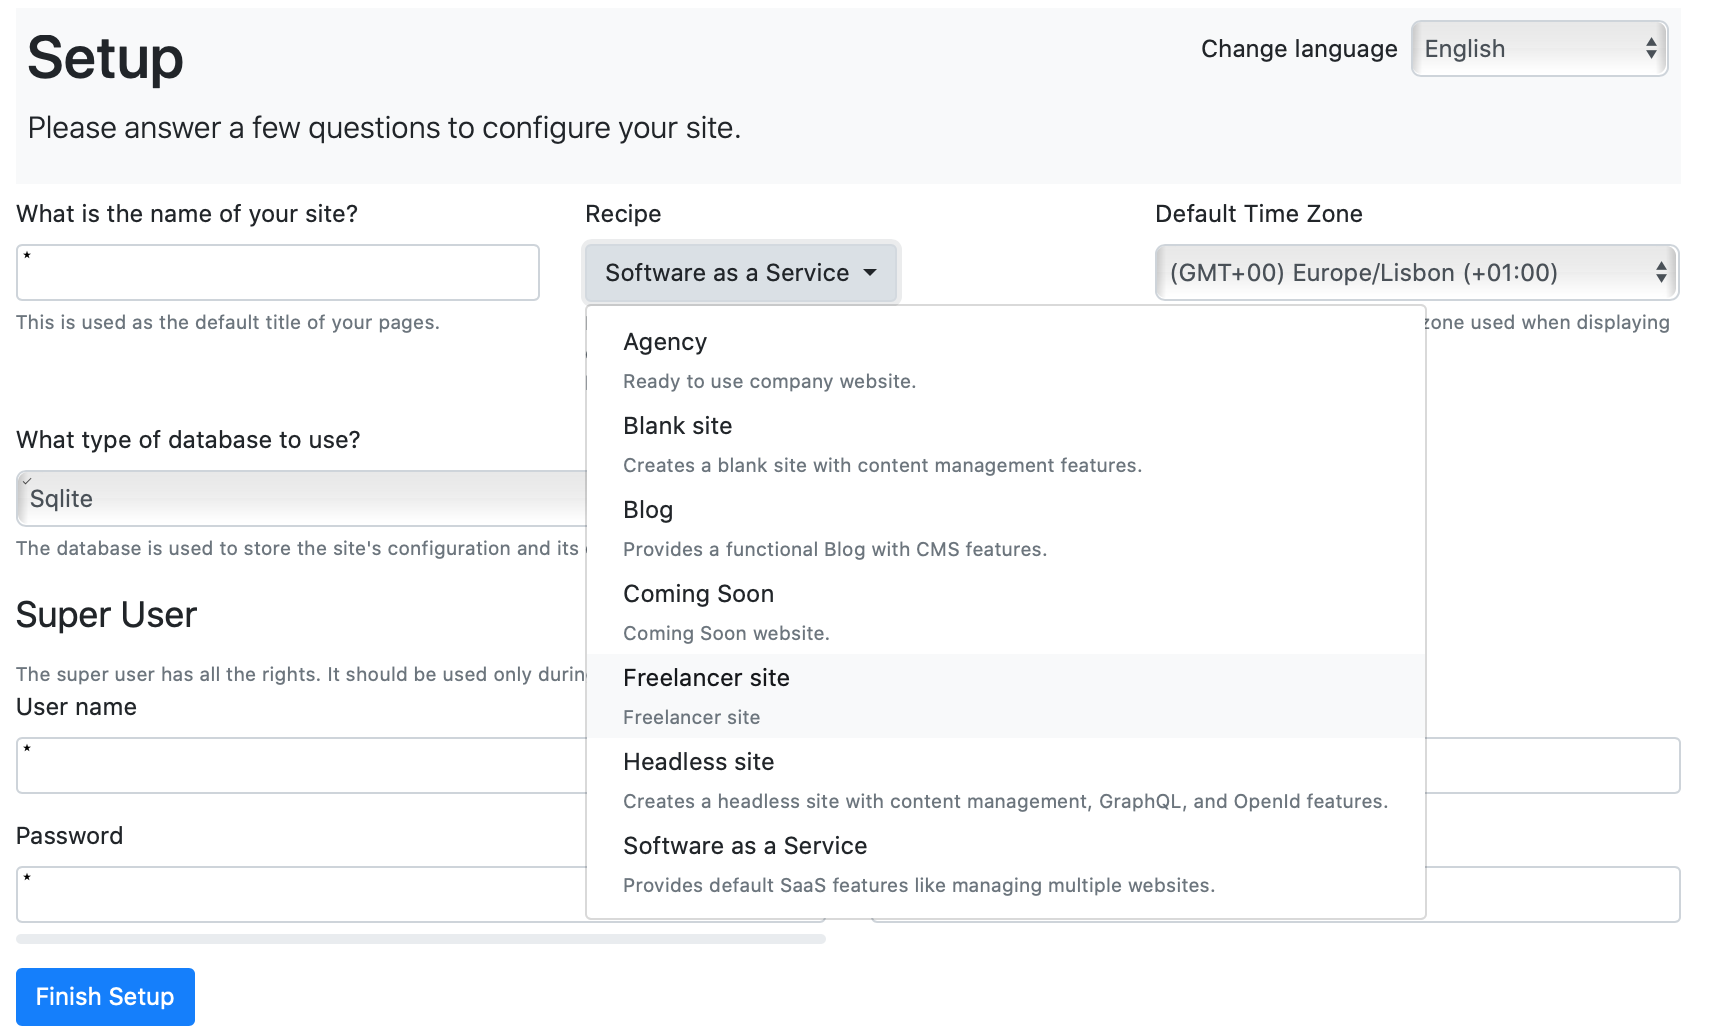
Filling the form.
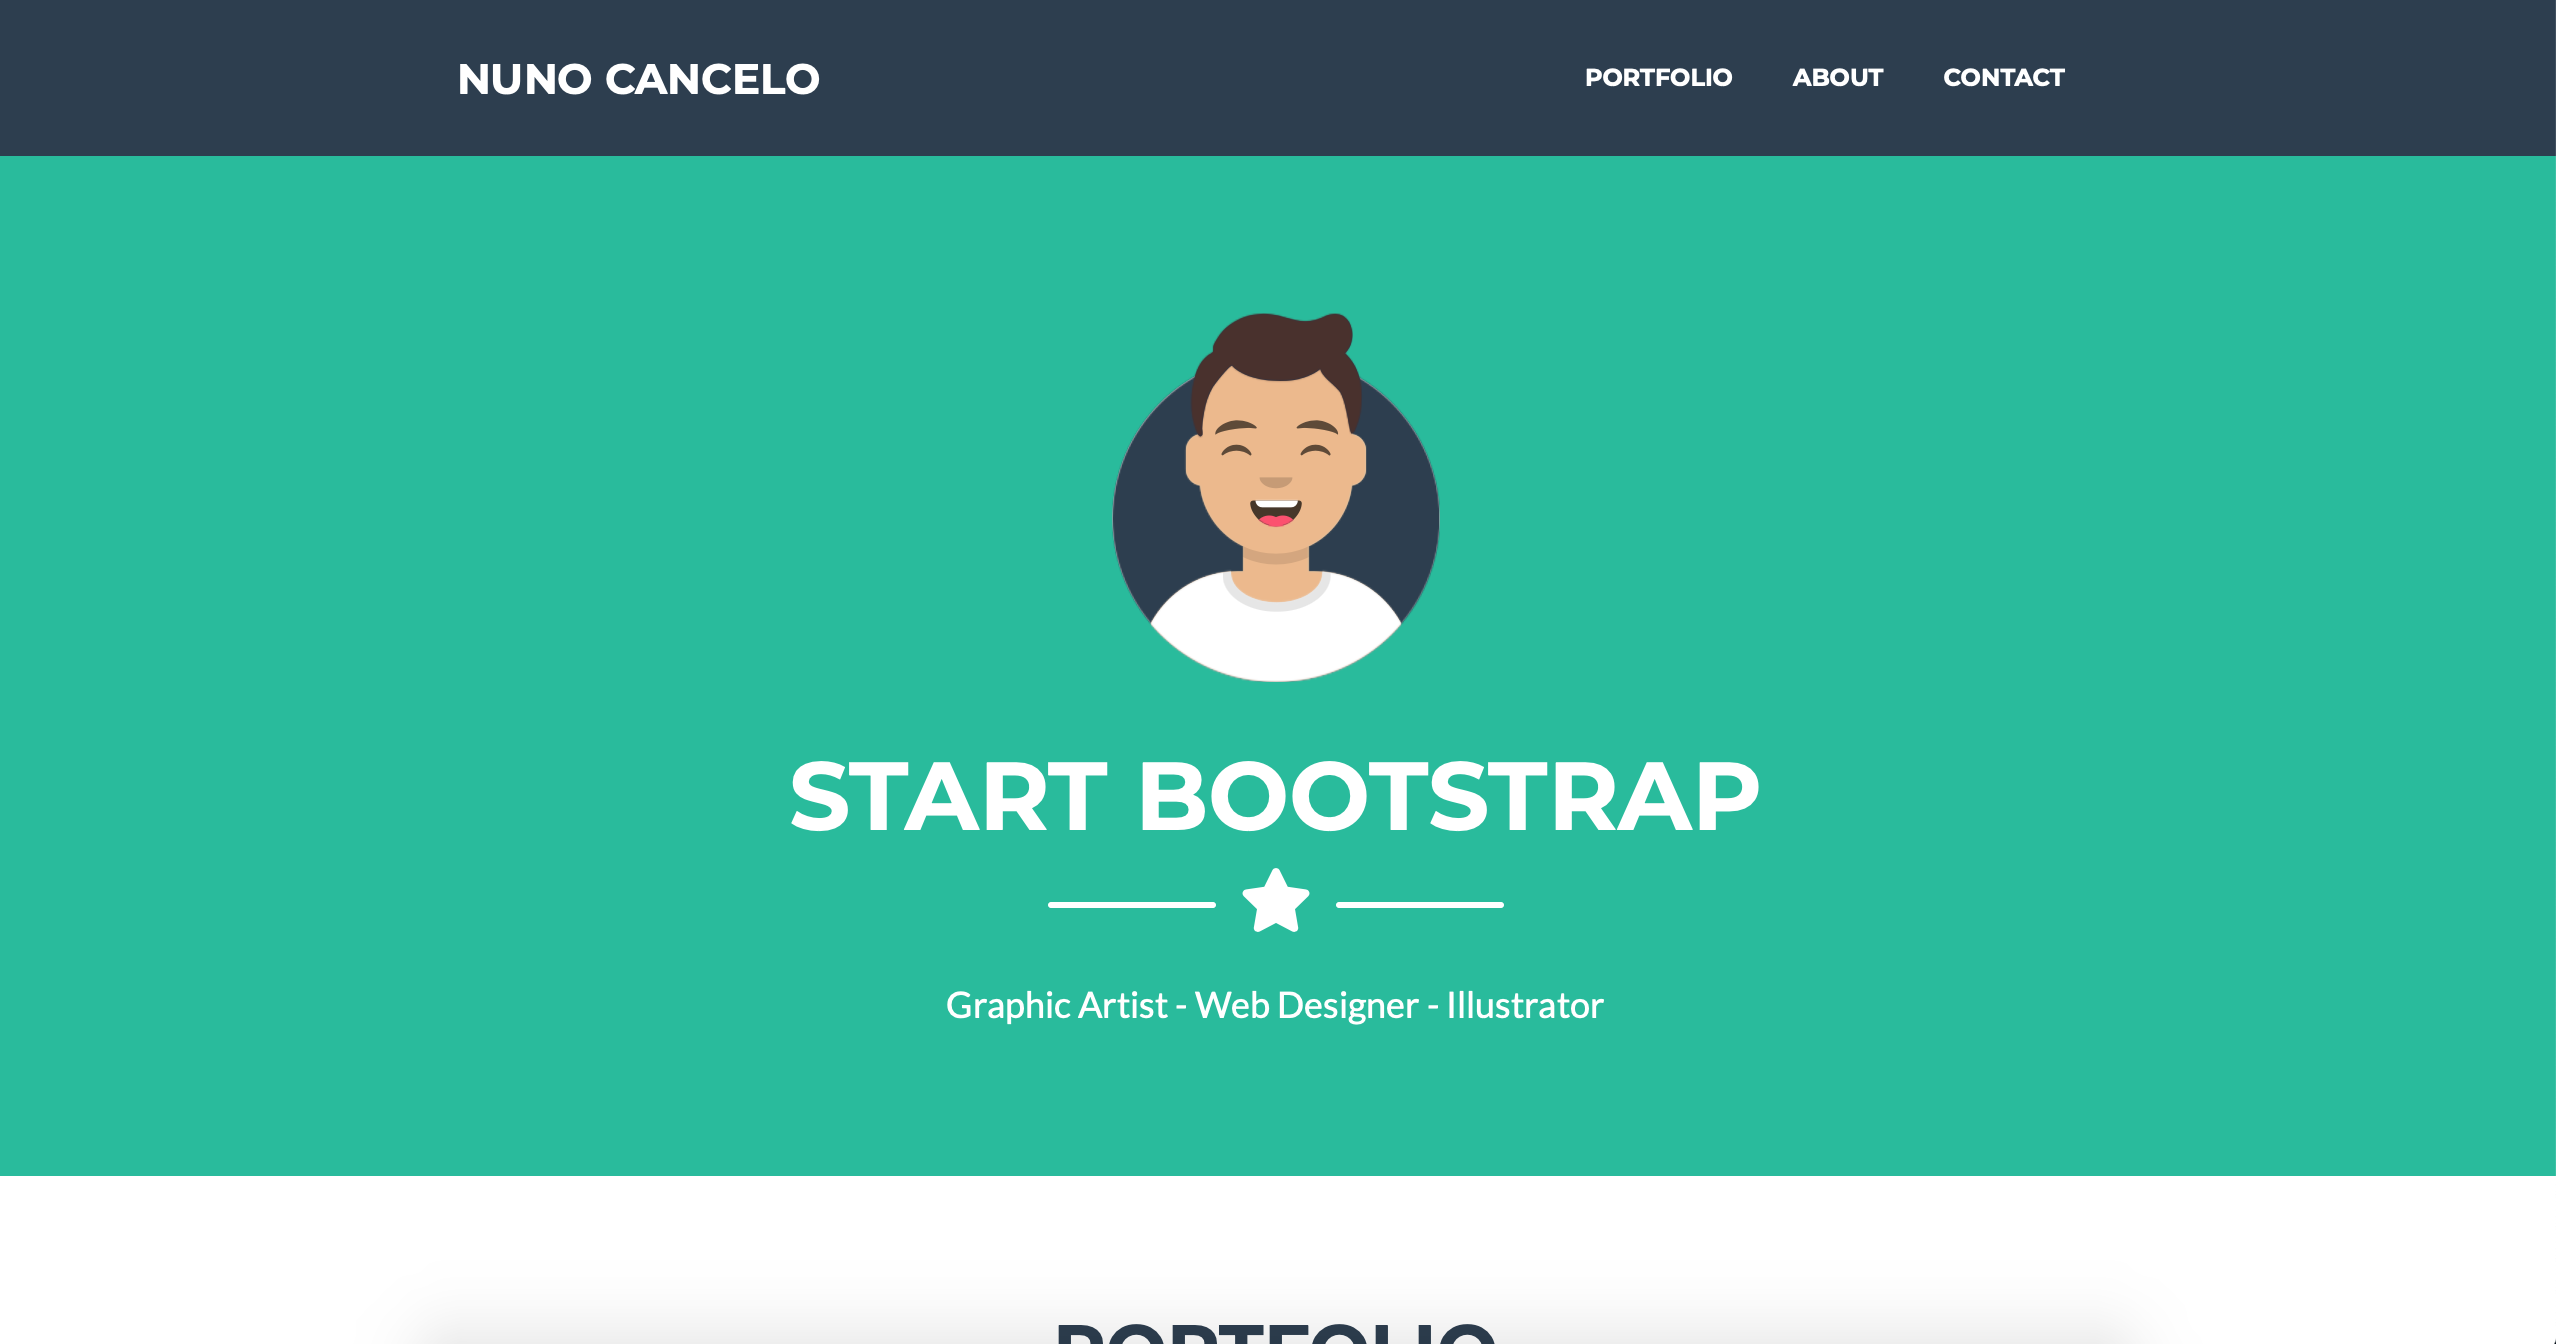
And by finishing the process we are redirected to the choosen theme.
By accessing the admin page, just type “https://localhost:5001/admin”. I fill the login data and then follow the steps to reach the Theme catalog, by accessing: Design -> Themes:
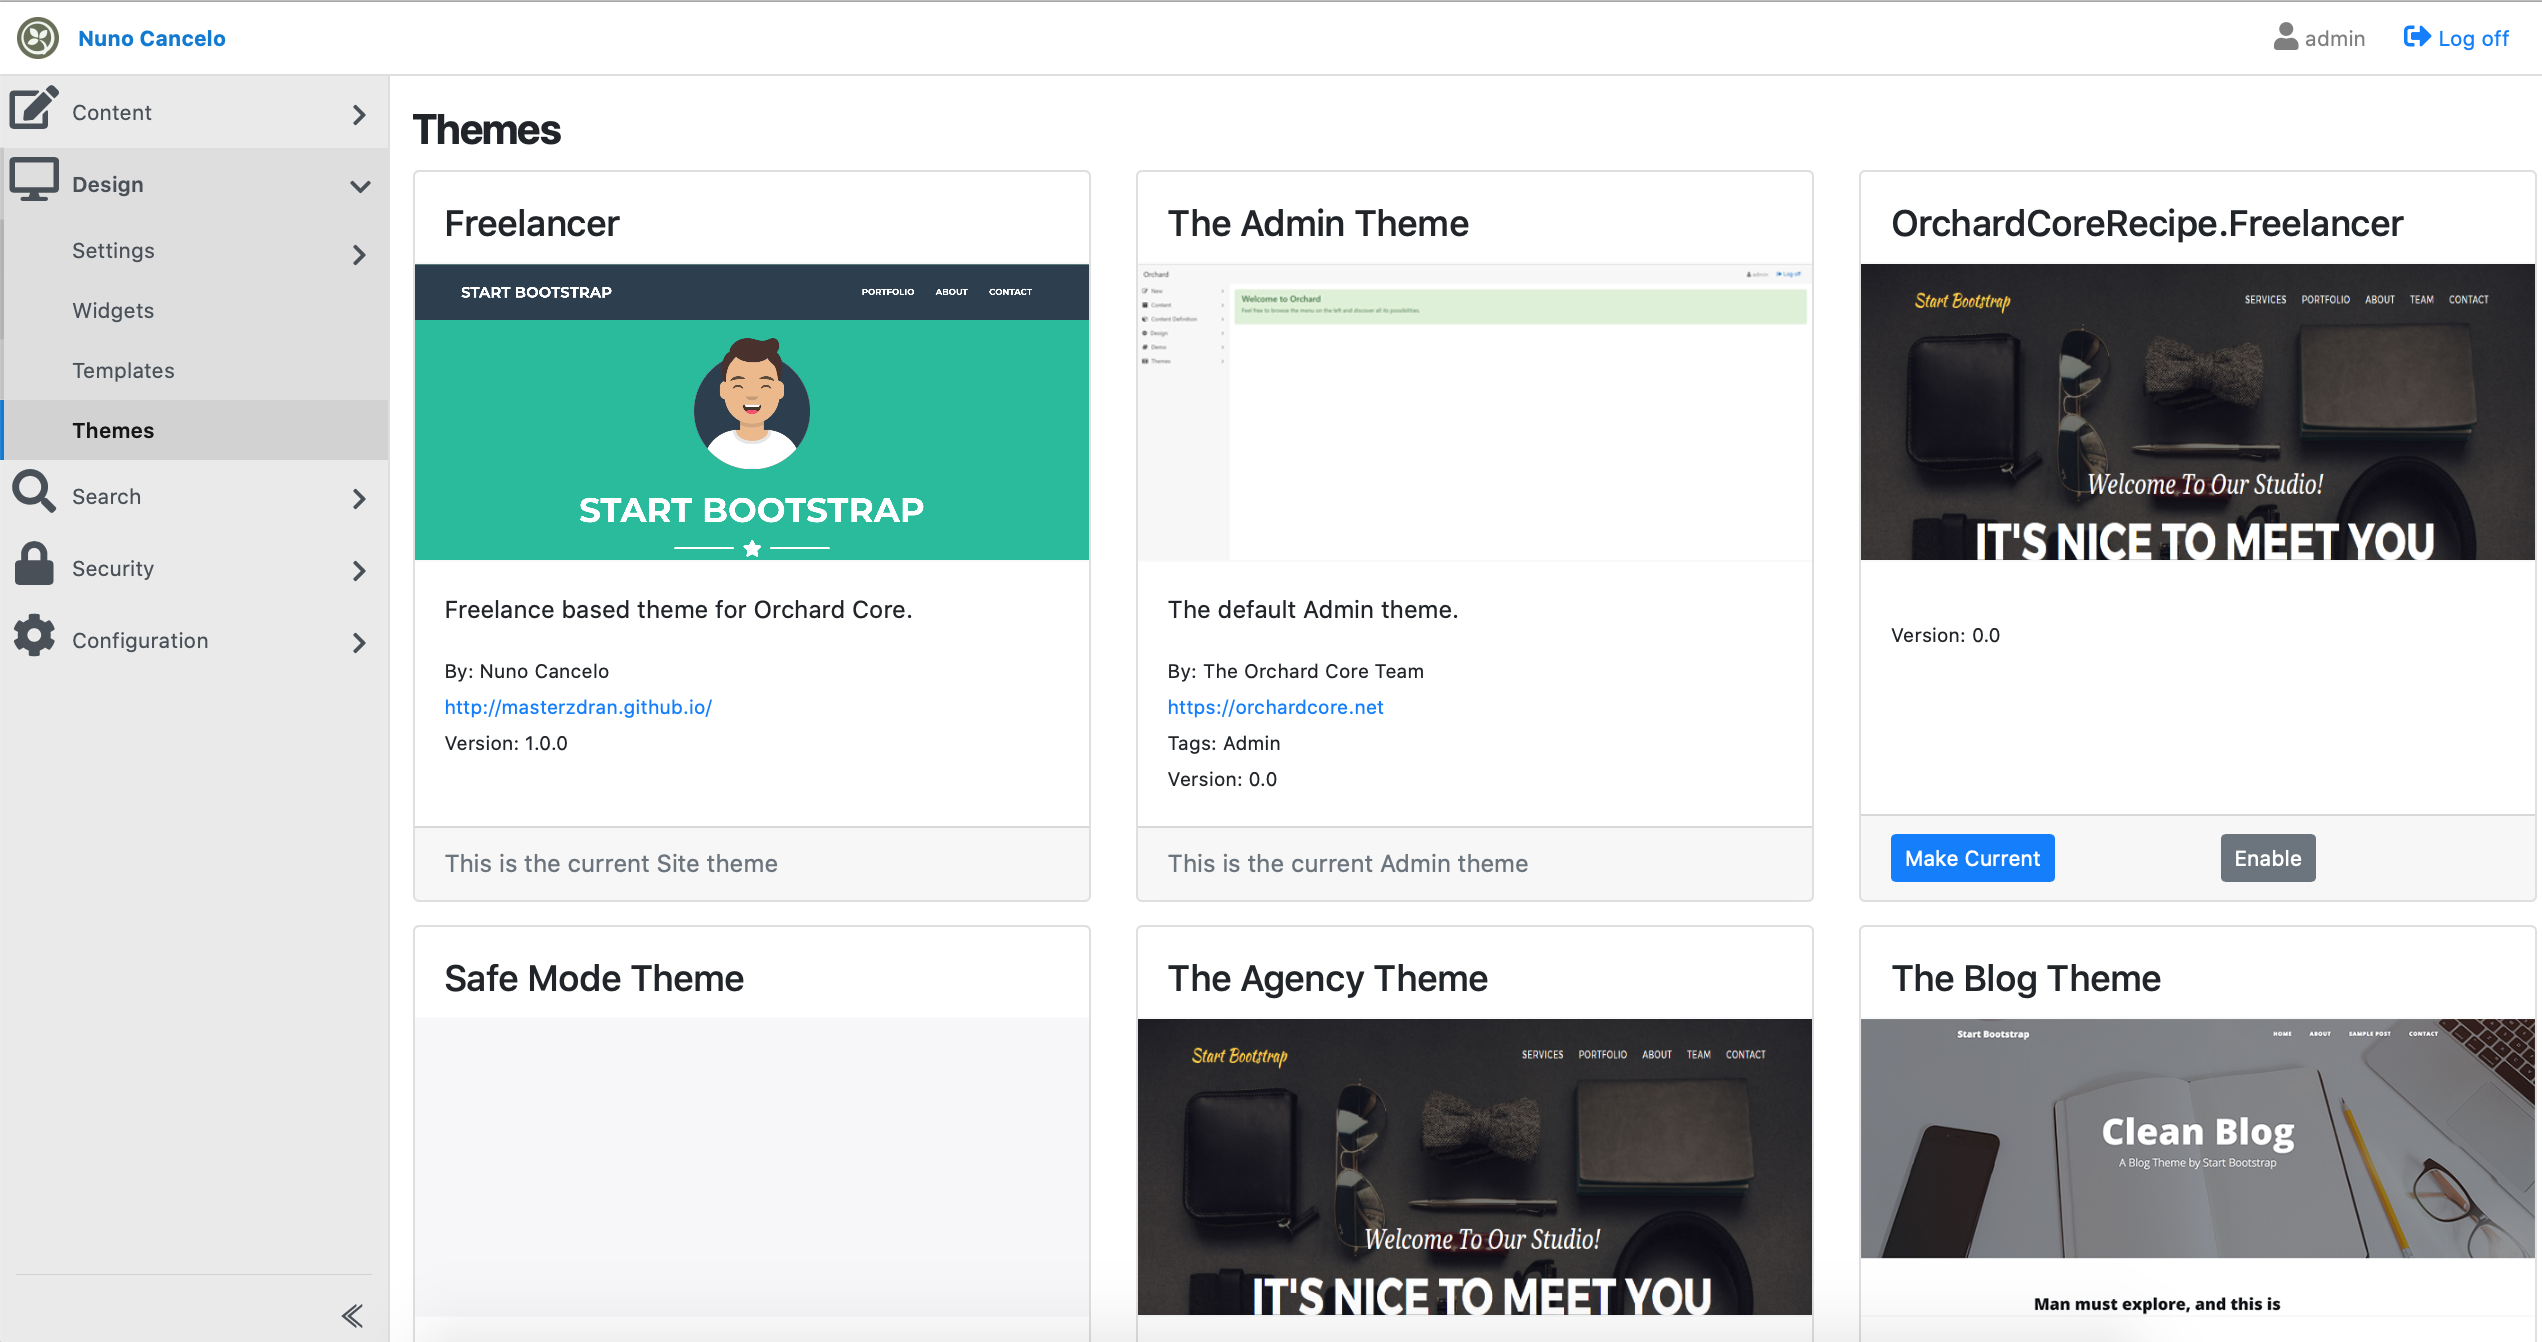
We can confirm that the Freelancer Theme is chosen. And by accessing Configuration -> Recipes:
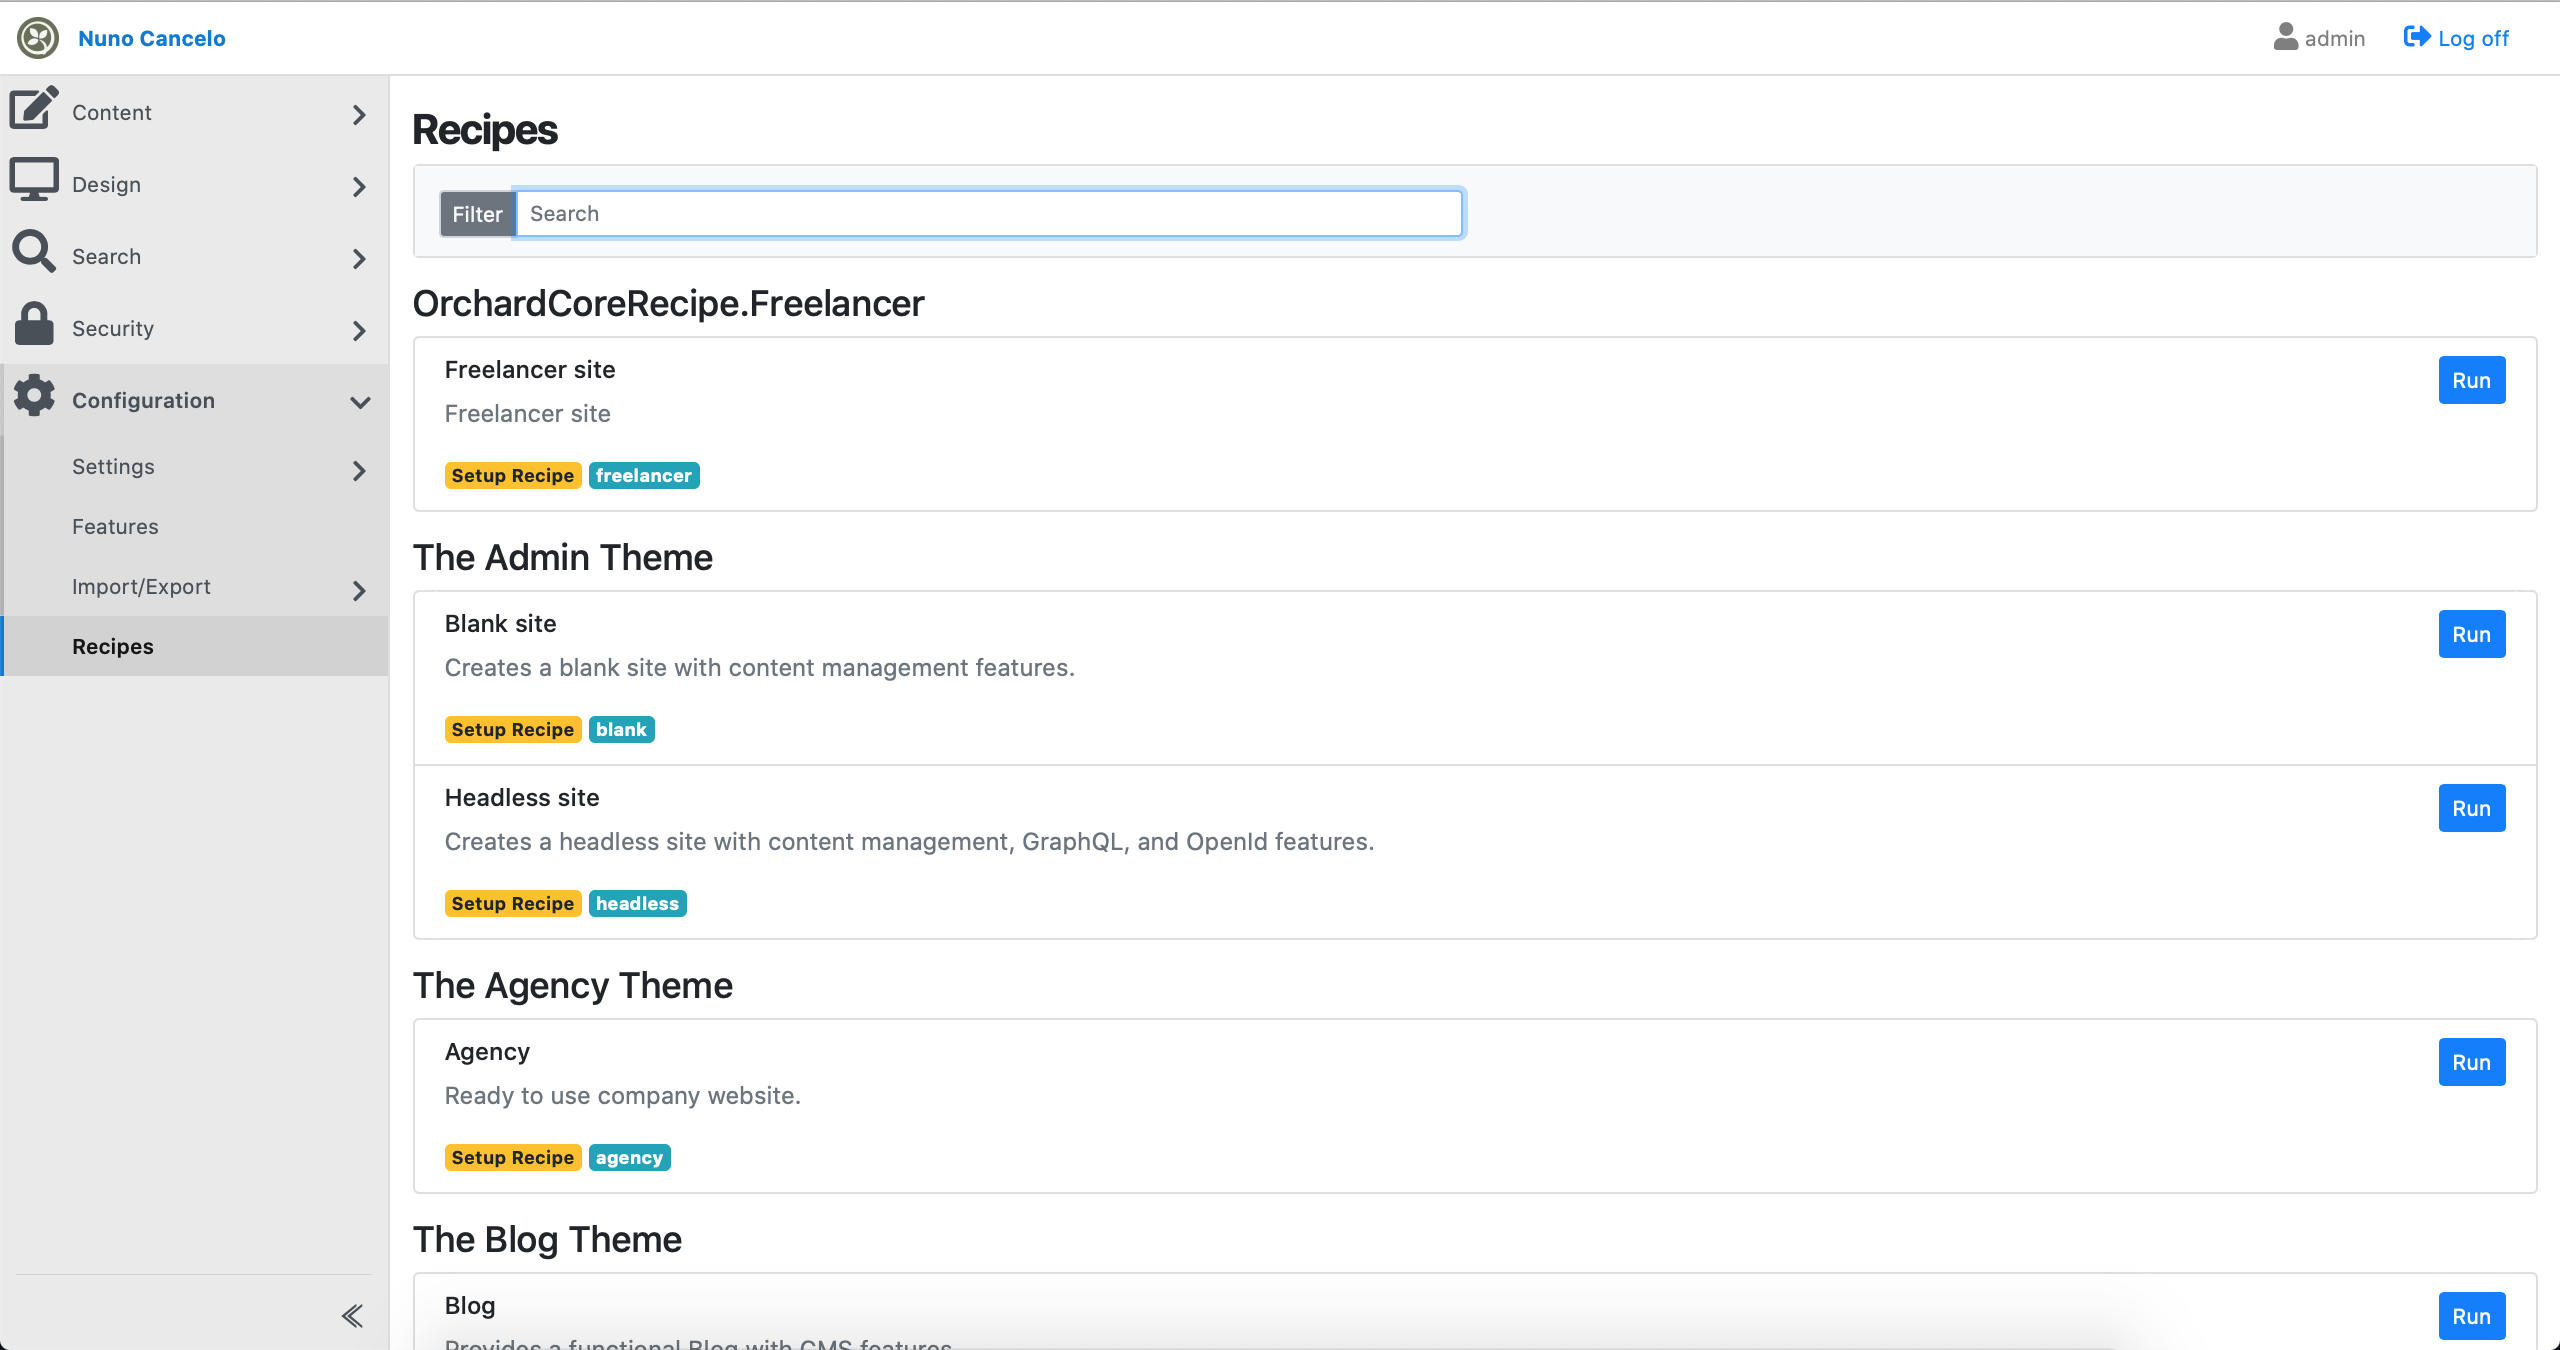
We can confirm that the Freelancer recipe is also available.
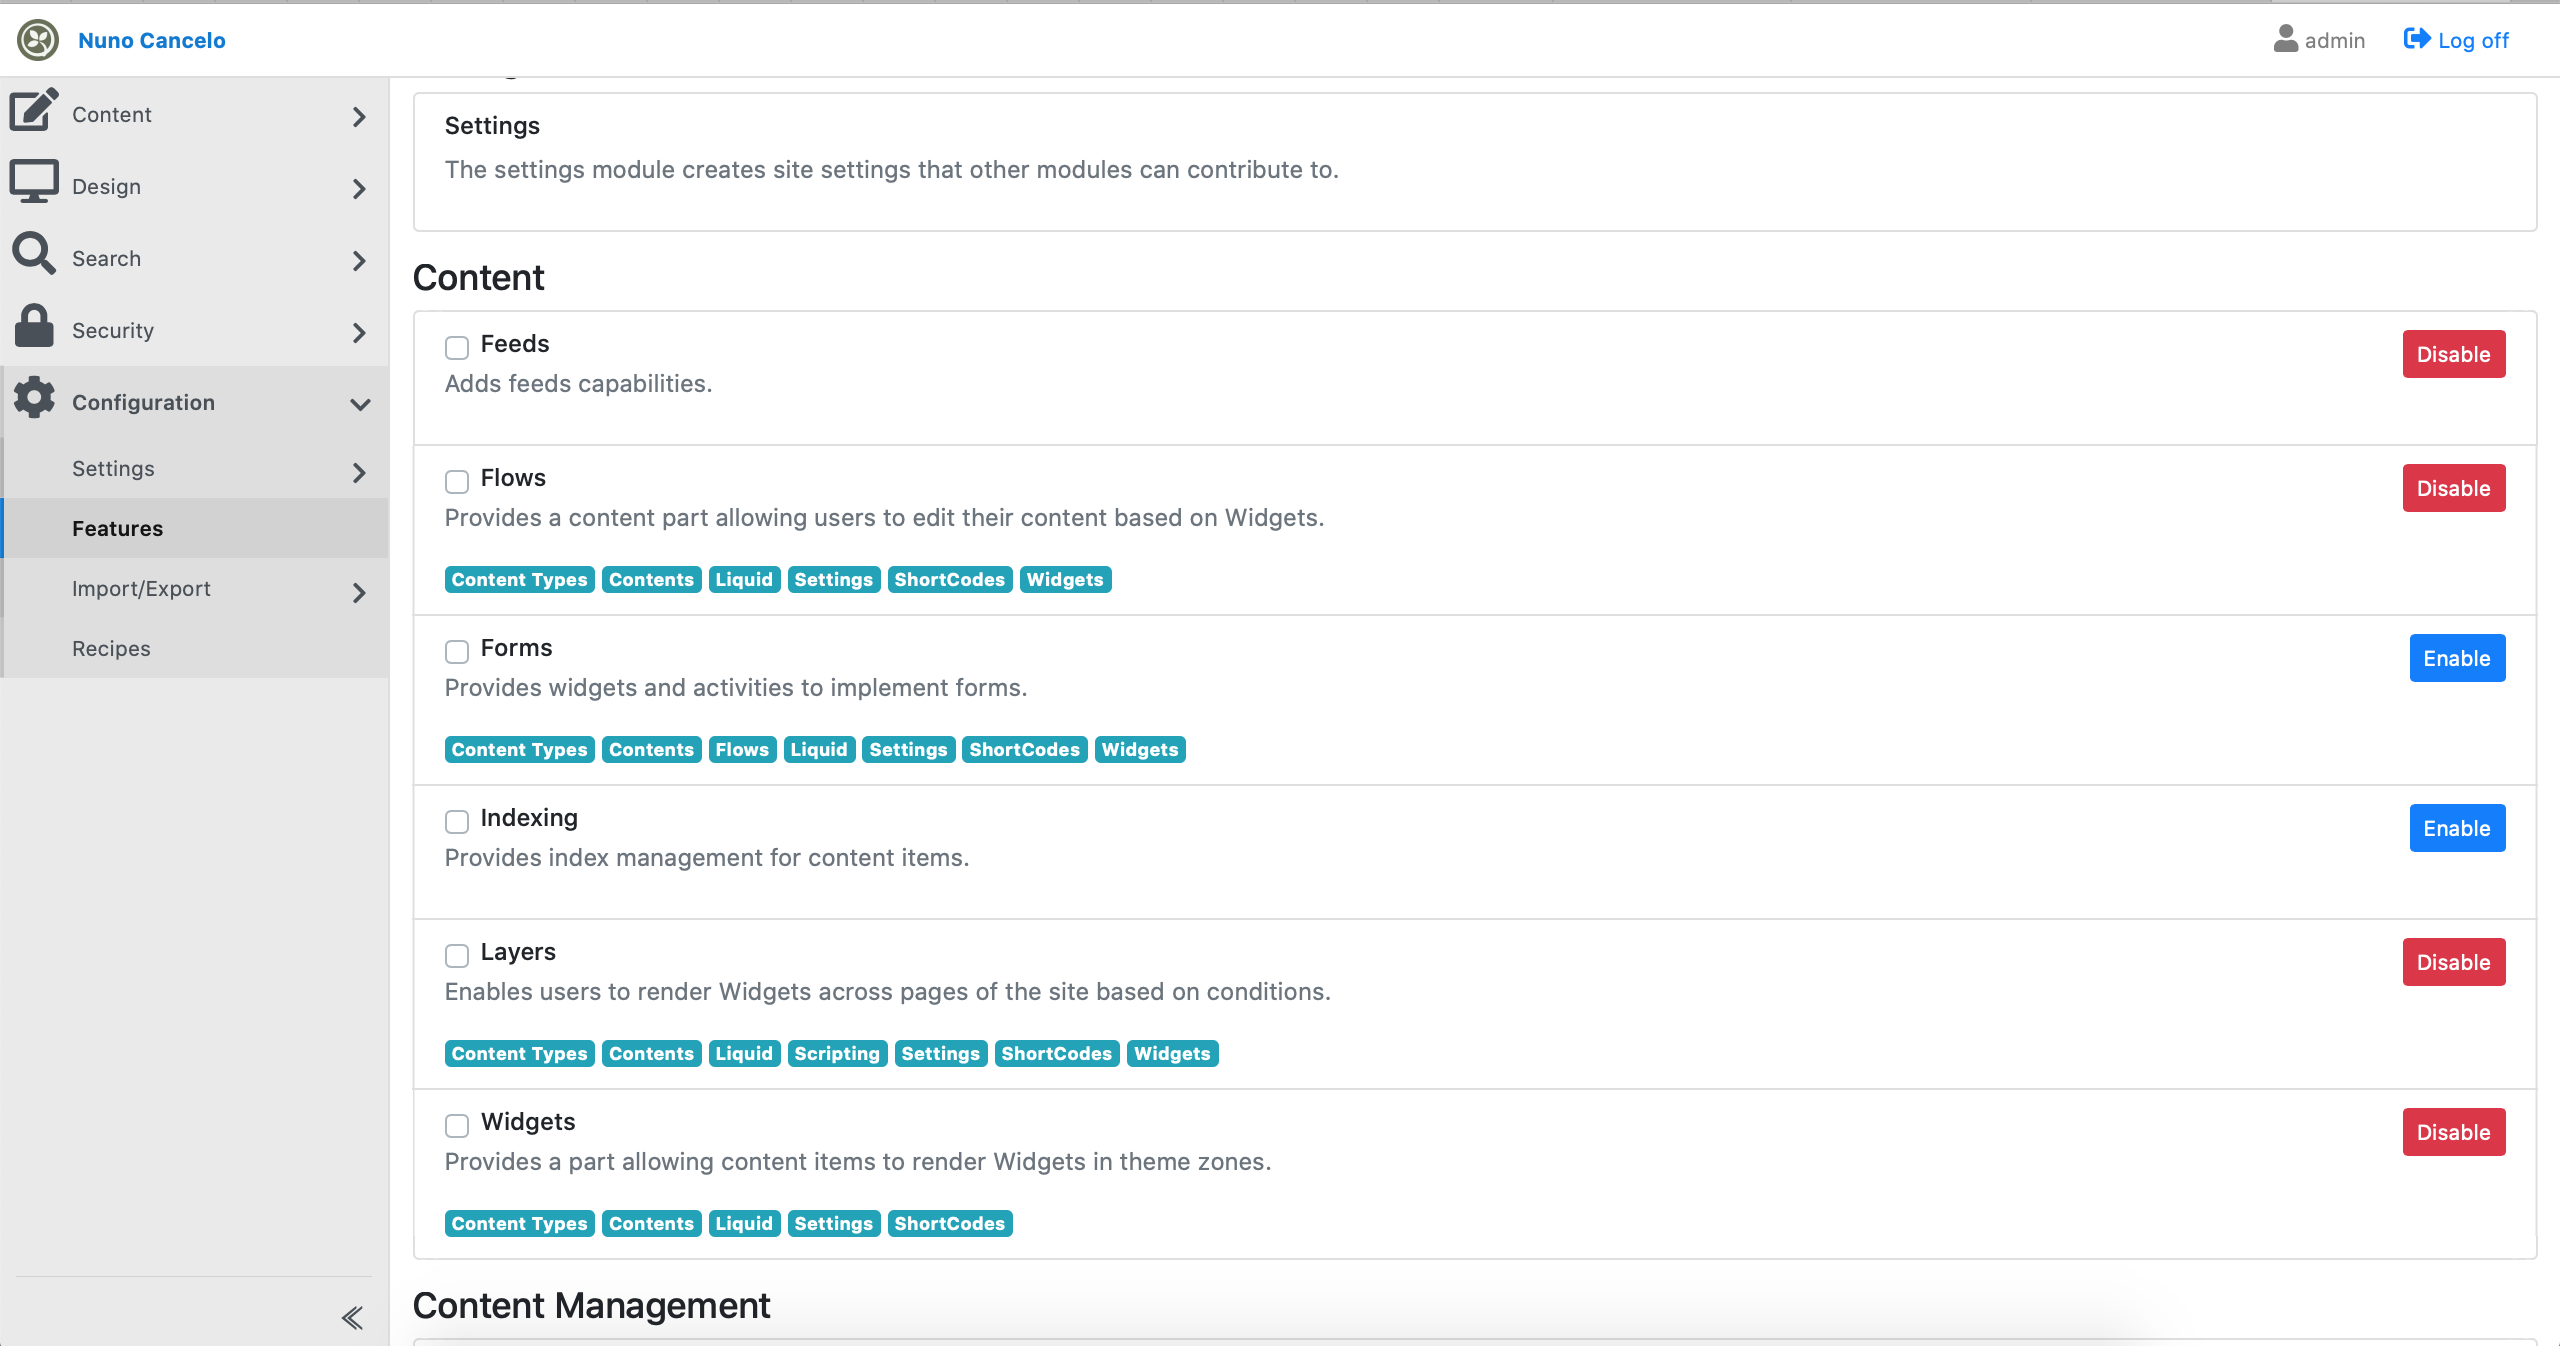
Last but not least, by accessing Configuration -> Feature we can check all features enabled in the recipe are also enable here:
Tcharan…. We are done
Knowledge Consolidation
Get around the Orchard Core source code and documentation and get acquainted with the available features, steps and the way the content parts and content type are described.
Conclusion
In the next article, I explained how we can develop a custom Orchard Core Recipe. This was pretty simple, but it covers the basics of the recipes.
Resources
- Official site: https://www.orchardcore.net
- Orchard Doje by Lombiq: https://orcharddojo.net/orchard-resources/CoreLibrary/
- Lombiq Youtube Channel: https://www.youtube.com/channel/UCDVUxCz2RvkgTbA0wAYKwRA
- Orchard CMS net Youtube Channel: https://www.youtube.com/channel/UCOPLovO0E8kfliE5bF9Y2Yg
- Orchard Skills Youtube Channel: https://www.youtube.com/channel/UCTwti4IV-uER89I39lTln0Q
- Visual Studio for Mac: https://visualstudio.microsoft.com/vs/mac/
- Jetbrains Rider: https://www.jetbrains.com/rider/
- Start Bootstrap: https://startbootstrap.com
- Liquid Templates: https://shopify.github.io/liquid/
- Static files in ASP.NET Core: https://docs.microsoft.com/en-us/aspnet/core/fundamentals/static-files?view=aspnetcore-3.1
- OrchardCore Razor Extensions: https://docs.orchardcore.net/en/dev/docs/reference/core/Razor/
- Orchard Core Recipe: https://docs.orchardcore.net/en/dev/docs/reference/modules/Recipes/